Scouts TT does Holi
Holi – The Festival of Colours
is a popular ancient Hindu festival, that is celebrated worldwide, also known as the “festival of spring”, the “festival of colours”, and the “festival of love”. The festival signifies the triumph of good over evil. Holi is seen as a very fun festival and for many families in India it’s a time to enjoy dancing in the street, singing and covering each other with brightly coloured powders and water
Holi celebrates the arrival of spring, the end of winter, the blossoming of love, and for many it is a festive day to meet others, play and laugh, forget and forgive, and repair broken relationships.
The Story of Holika Dahan
Legend has it that once, there was a powerful king named Hiranyakashipu. He was a devil and was hated for his cruelty. He considered himself to be God and wanted everybody in his kingdom to worship him like one.
However, his own son, Prahlada, was a devotee of Lord Vishnu and refused to worship his father. Angry with the disobedience of his son, Hiranyakashipu tried killing his son a number of times, but nothing worked. He then asked his evil sister, Holiya, for help. Holiya possessed a special power of being immune to fire. So, to kill Prahlada, she tricked him into sitting with her on a pyre. But due to her evil intentions, her power became ineffective and she was burned to ashes. On the other hand, Prahlada gained this immunity and was saved.
This is why the first day of Holi is celebrated as Holiya Dahan and symbolises the victory of good over evil.
Playing with Colours
The second day of Holi is called Rangwali Holi, Dhulandi, Dhulandi, Phagwah or Badi Holi. This is the day when people apply colours to one another, party and enjoy. Children and youngsters play in groups with dry colours called abir or gulal, pichkaris (water guns), water balloons filled with coloured solutions and other creative things. You might even find groups of people with drums and other musical instruments on streets, dancing and singing their way from one place to another.
How do I use the “My Faith Series” to earn my badge?
To earn your badge, you can pick any one of the series and work with your Cub/Scout/Venture Leader, Parent or Religious Leader to complete the activities for that event. While doing the activities, you should keep a personal log (with pictures). Once you have successfully completed all of the activities, you can share your log with your leader. Your leader will then assess what you have done in order to award the badge.
Day 1:
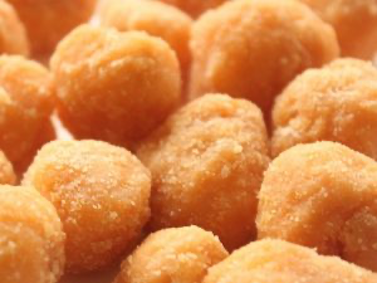
Holi Ladoos:
Banish hunger on the festival with these yummilicious healthy coconut Ladoos.
- To make them you will need desiccated coconut, condensed milk, food colors. Heat the skillet to dry roast the coconut for 5minutes. Add condensed milk and stir the mixture till it starts leaving the sides of the skillet.
- Divide the mixture into different bowls according to the number of food colors you have. Now ask your lo to add 4-5drops of the coloring and roll the mixture into Ladoos. Your Holi Ladoos are ready.
Pop Quiz!
- How did the Dish taste?
- Who usually celebrates this festival?
- How did the festival begin?
- What do people usually do for this festival?
Day 2:
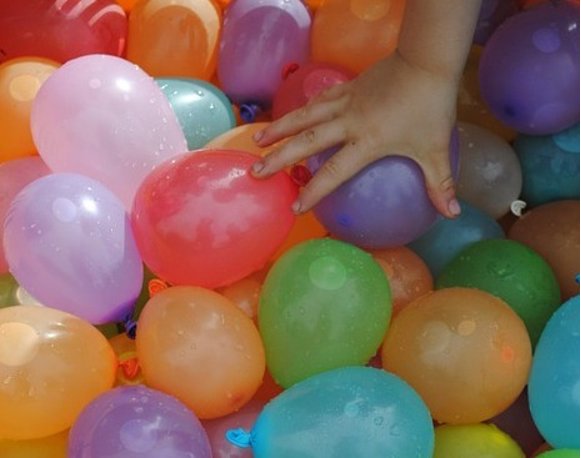
Water Balloon Cricket:
Give a twist to water balloons splat this time with water balloon cricket. Bowl in the water balloons and food colouring, hit them with a cricket bat. All you need is plenty of balloons.
Pop Quiz!
- Do you enjoy playing with colours?
- Who played with you?
- Would you do this again?
Day 3:
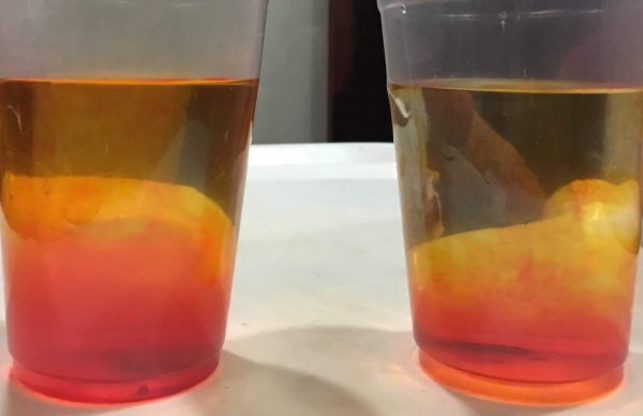
Dancing Colors:
This is fun experiment enjoy watching it you will have a blast doing it.
- Take two transparent jars. Add ice cold water in one jar and hot water in another. Let your child squirt two-three drops of food colour into both the jars.
- As the colour mixes in the water, it appears to be dancing. Do not stir! Observer in which jar colour dances/mixes faster.
Pop Quiz!
- Did you like this little experiment?
- Which was your favourite colour?
Day 4:
Get into the colourful spirit of Holi with some bubble wrap printing.
You will need:
- Sheets of bubble wrap
- Abir Powder
- Sellotape
- A4 paper/card
- Tape a square of bubble wrap to the table/floor
- Squirt a few different colours of abir onto the bubble wrap
- The young people can make patterns in the abir powder and water using either their hands or simple tools
- When finished press the paper/card onto the abir to make a print and hang to dry
Pop Quiz!
- Do you like being messy?
Day 5:
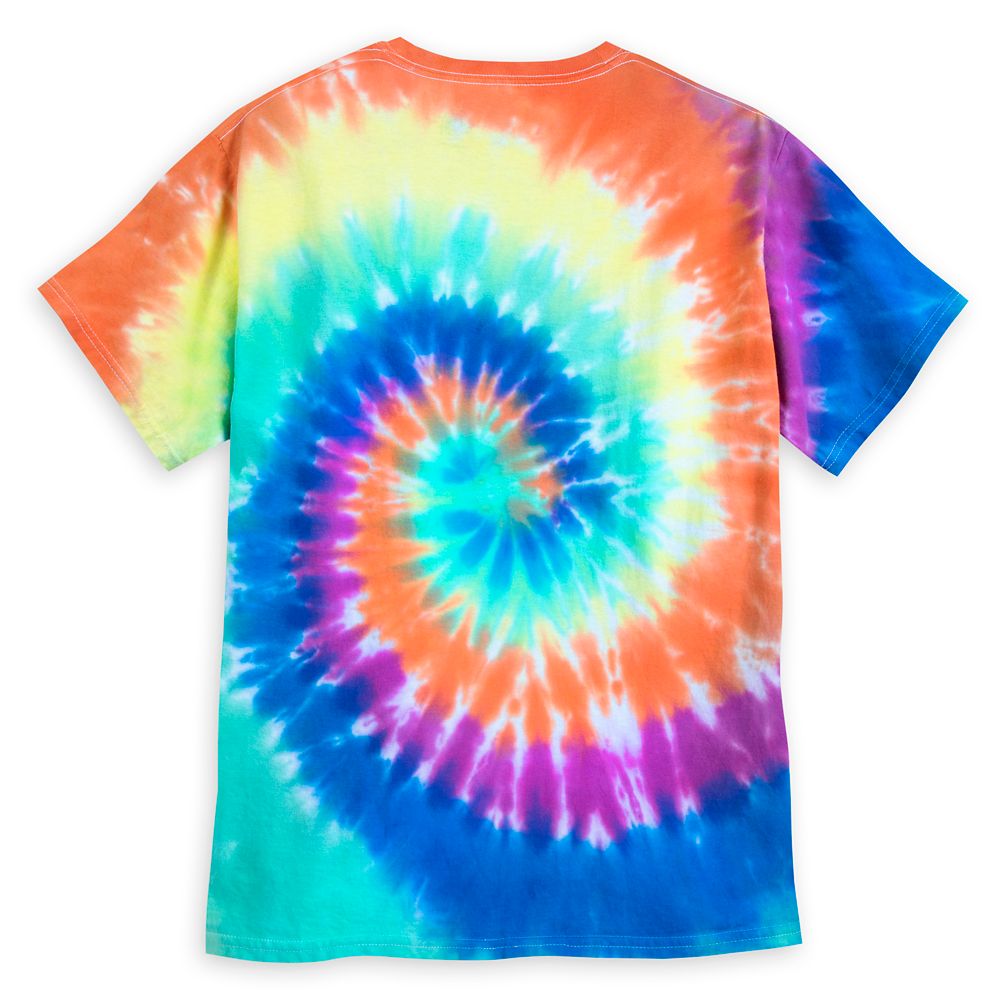
Tie-Dye Shirt:
This Holi, make a tie-dye shirt. Grab an old plain white or any other solid t-shirt in a light color and roll it up. Once rolled, to tie elastic bands on the t-shirt at various places.
Now comes the fun part. Mix different color cloth dyes and use your creativity. It is a good idea to use plastic gloves. Once done, let it sit for an hour before washing. Dry in shade and ta-da…your Holi t-shirt is ready.
Pop Quiz!
- Would you wear this shirt to go out?
Day 6:
Night of Reflection
Fires are normally lit on the eve of Holi to signify the power of faith and the destruction of evil. To mark this occasion, the following activities have been designed.
Cubs: Stories by Candle/lantern light
Ask each member of your family to search for a short story that speaks about how faith and purity have overcome evil. Take turns sharing your stories with each other around the light of a candle, deeya or lantern.
Scouts, Ventures and Rovers: Campfire Vigil
Gather your friends and family together and prepare a small campfire. If this is not possible where you are, you can light a candle or a deeya instead or use an electric lantern. Select a social issue that you feel strongly about and share this as the theme for your campfire. Ask each person in attendance to prepare an item on the issue. These can be songs, poems, or just some thoughts. Take turns sharing your items and expressing your perspectives. At the end of the campfire, prepare and send a letter to your member of parliament expressing your views on this matter.
Day 7:
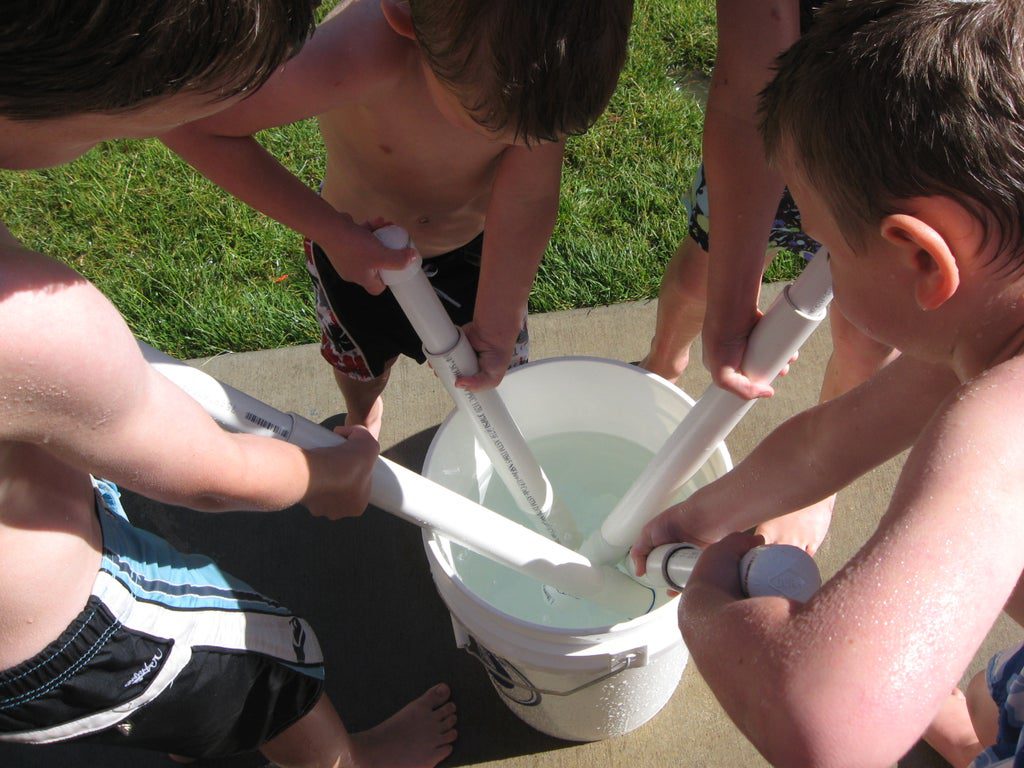
Grab your brothers and sisters or other family members and go to a Holi Pichkari Event or start one in your neighbourhood.
The pichkari is used to shoot Coloured water (Abir) at other people. By pulling the handle up when placed in a bucket of water, the pichkari fills with water, ready to shoot out water when the handle is pushed. The pichkari is mainly used during the Indian holiday of Holi, also known as the festival of colours. So, along with throwing powdered colours at other people, water is also shot out of pichkaris in celebration of the victory of good over evil. However, not all pichkaris are made of pure silver. In fact, most are just made of plastic.
Cubs and Scouts: DIY Water Gun
Children love playing with water guns and the idea of making their own water gun will surely get them excited. What you need is an old plastic bottle, old newspaper and abir powder.
Step 1: Take an empty, old plastic bottle. A 500ml water bottle works best as it is neither too big nor too small.
Step 2: Spread newspaper on worktable to prevent any stains. This is the most fun part of DIY water gun. Mix abir powder in a bottle of water.
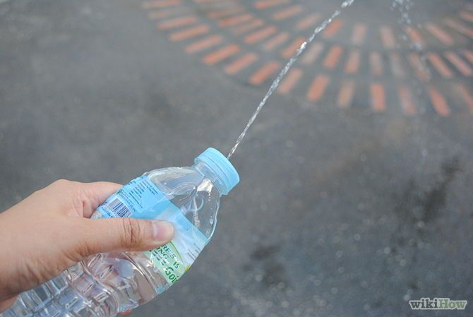
Step 3: This step requires adult supervision. Take the lid off the bottle and poke a hole in its centre using a scissor or metal skewer.
Step 4: Fill it with water, cap it and squeeze it for endless water gun fun.
Ventures and Rovers: DIY Water Gun
Step 1: How It Works
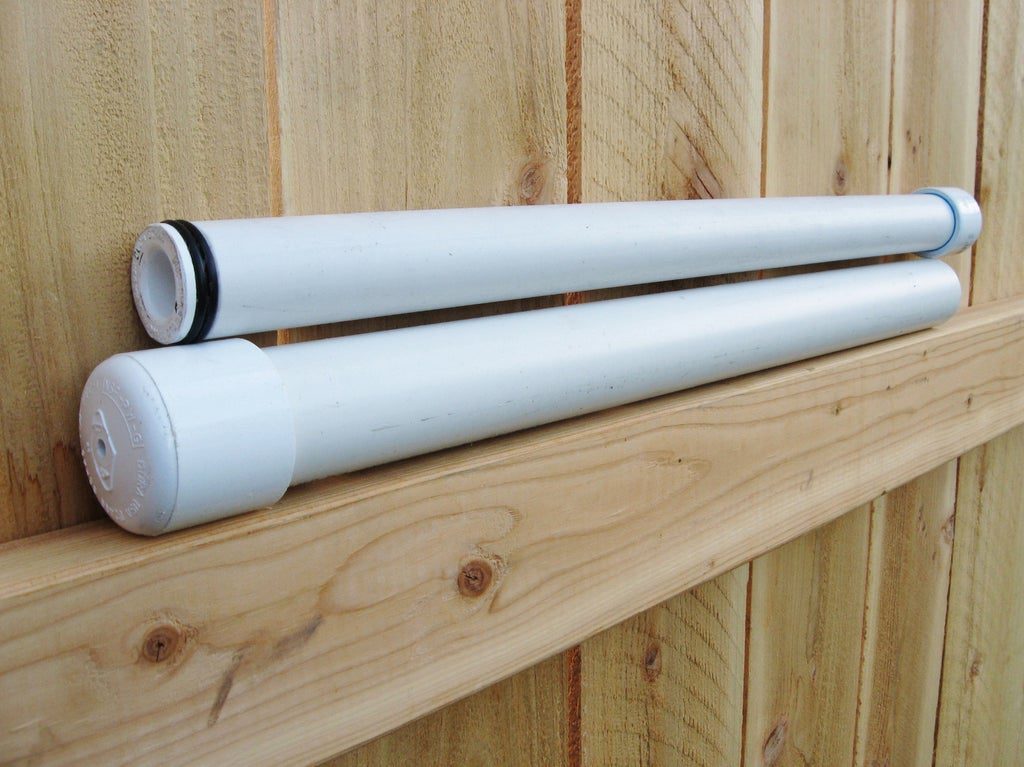
This type of water gun is basically a large syringe. There are two main parts: the outer piece which is the barrel, and the inner piece which is the plunger, or piston. On one end of the piston there is generally some type of seal, that acts as a round, watertight squeegee. This seal allows the piston to draw water into the barrel as you withdraw the piston from the barrel, and to force water out as you push it in.
Step 2: Materials
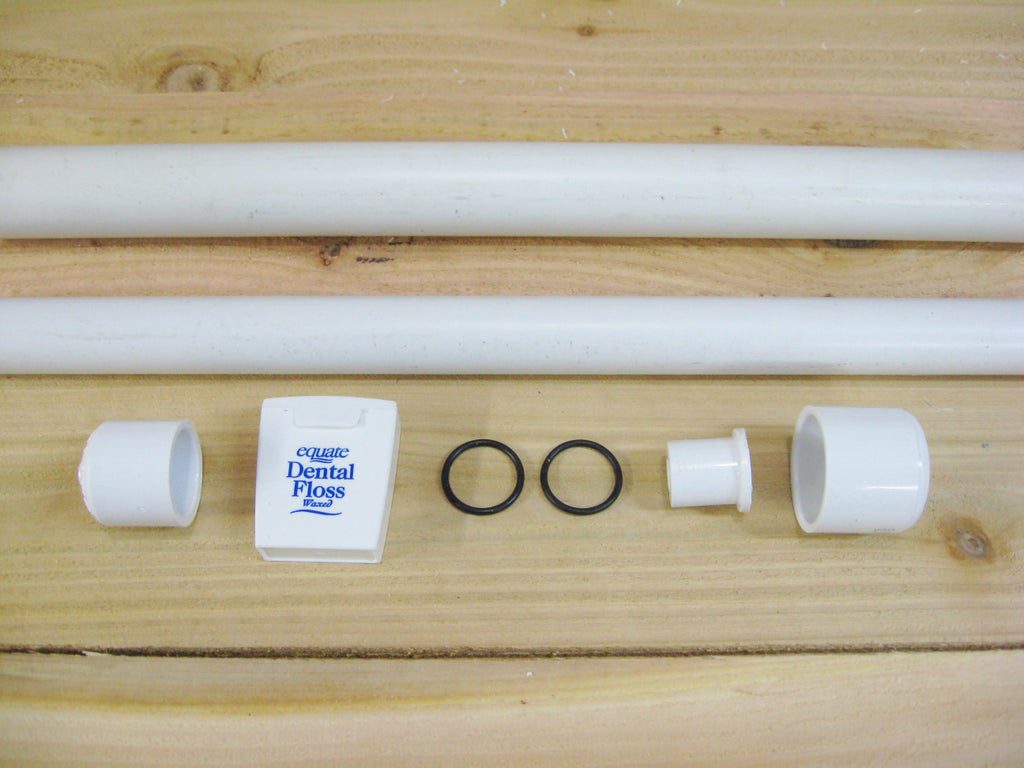
Here’s what is used to make one water gun:
- 20″ of each: 1″ and 1 1/4″ PVC pipe (usually available in 10-foot sections, hence the suggestion to make six water guns at once)
- End cap for each diameter of pipe
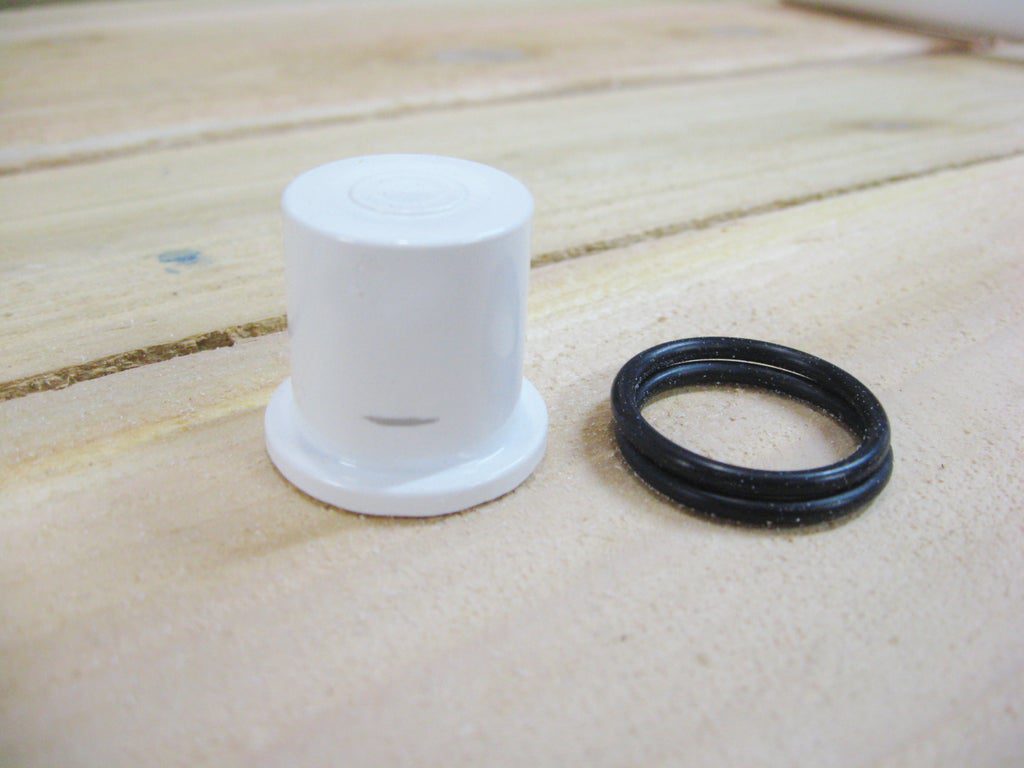
- One 3/4″ plug (generally for use on 3/4″ pipe)
- Two O-rings with inside diameter 28mm, outside diameter 34mm, width 3mm. I found these in the hardware bins at an Ace hardware. If you can’t find this size, you may be able to use whatever close size of O-ring you can find, using the adjusting method I will cover ahead.
- Aside from the O-rings, I bought all my supplies at a Home Depot store.
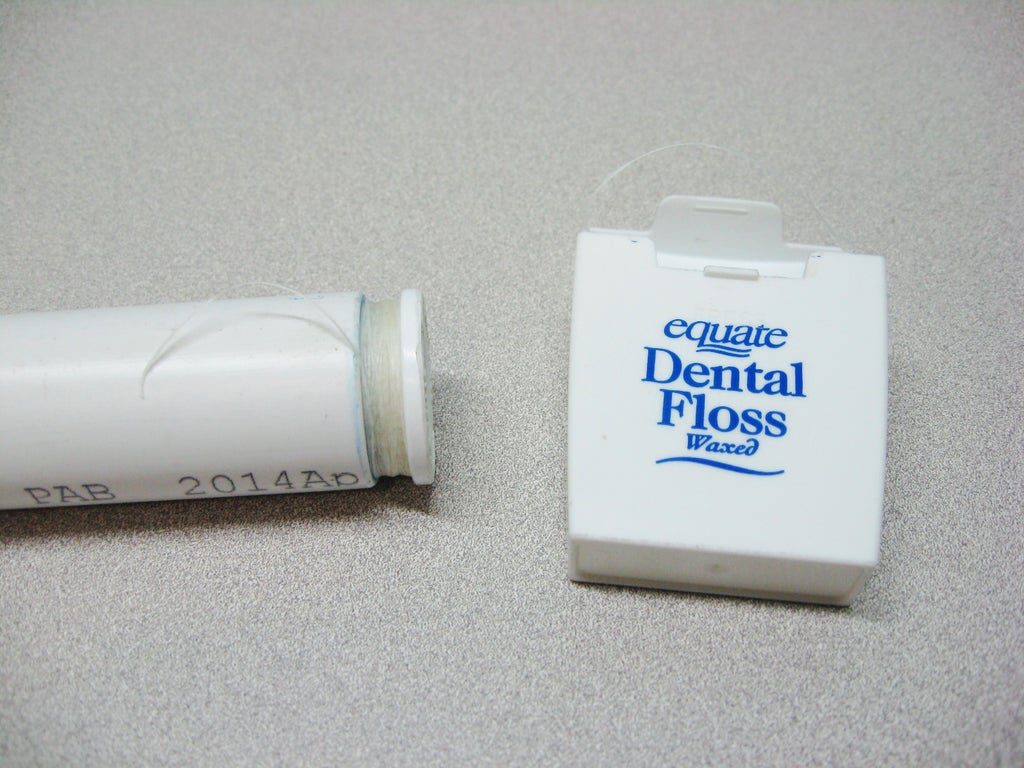
Now, the real secret to this design is dental floss. Yes, the humble, single-use tooth thread that sits undisturbed in your medicine cabinet. You might as well just move it to the workshop where it will see a little more use. It’s actually quite handy stuff.
Step 3: Cut Pipe
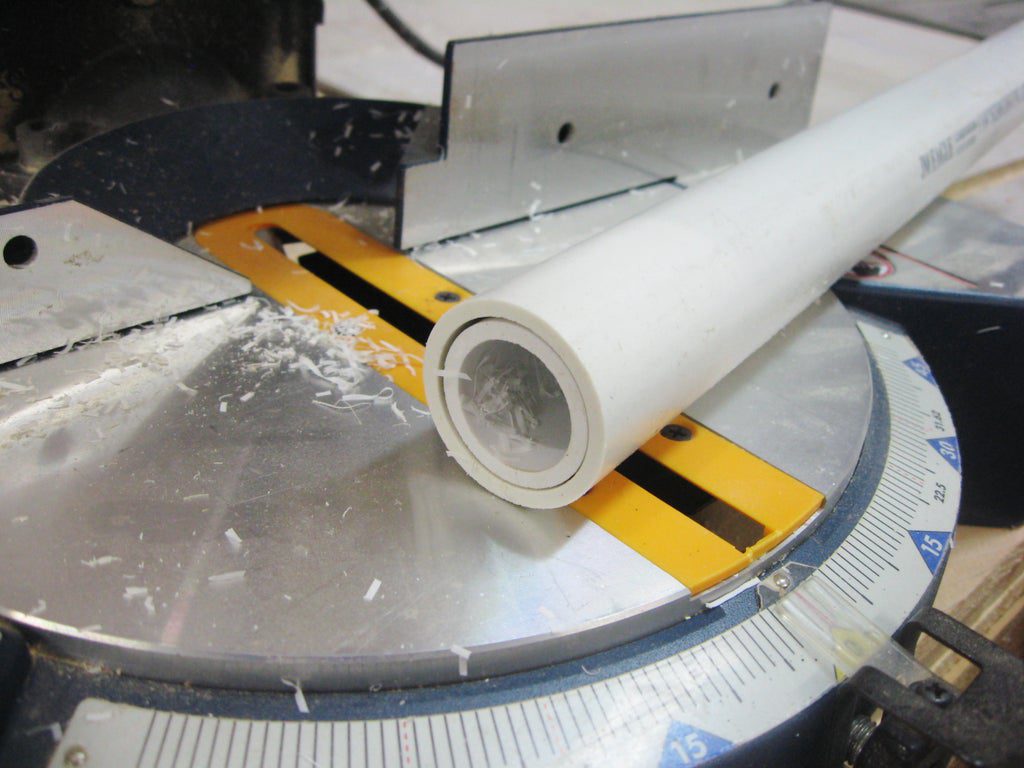
- Begin by cutting 20″ sections of pipe. The simplest way to do this is to use a power miter saw. But there are plenty of other ways if needed.
- To speed up the process, slip the 1″ pipe into the 1 1/4″ pipe before cutting.
Step 4: Assemble Barrel
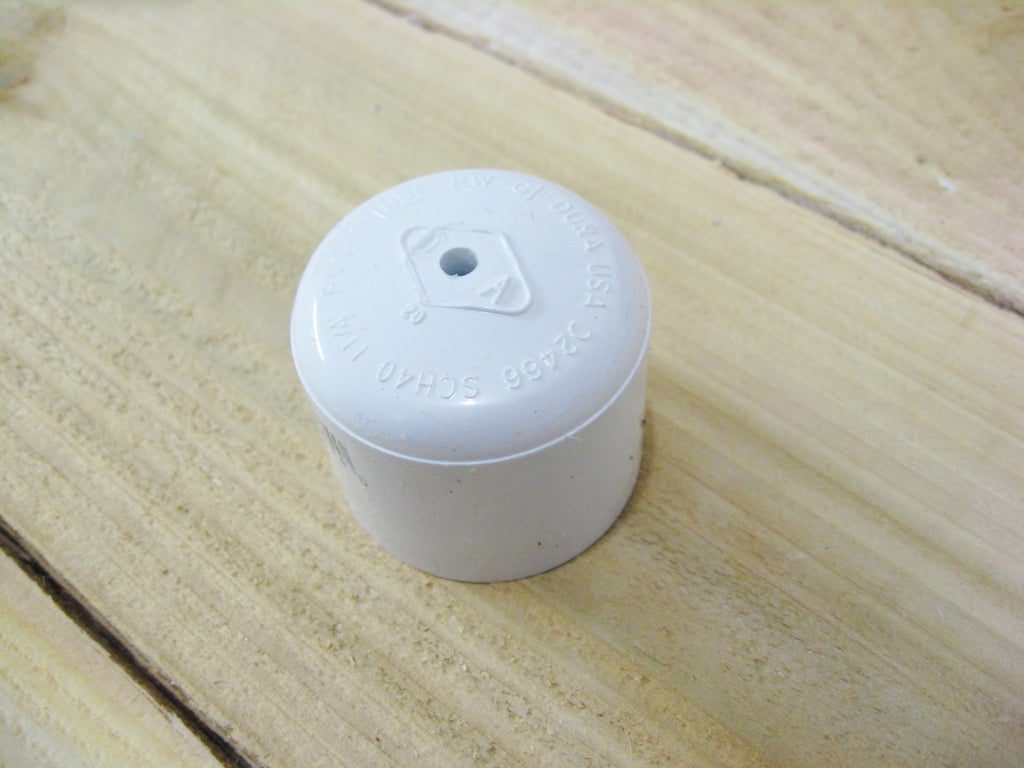
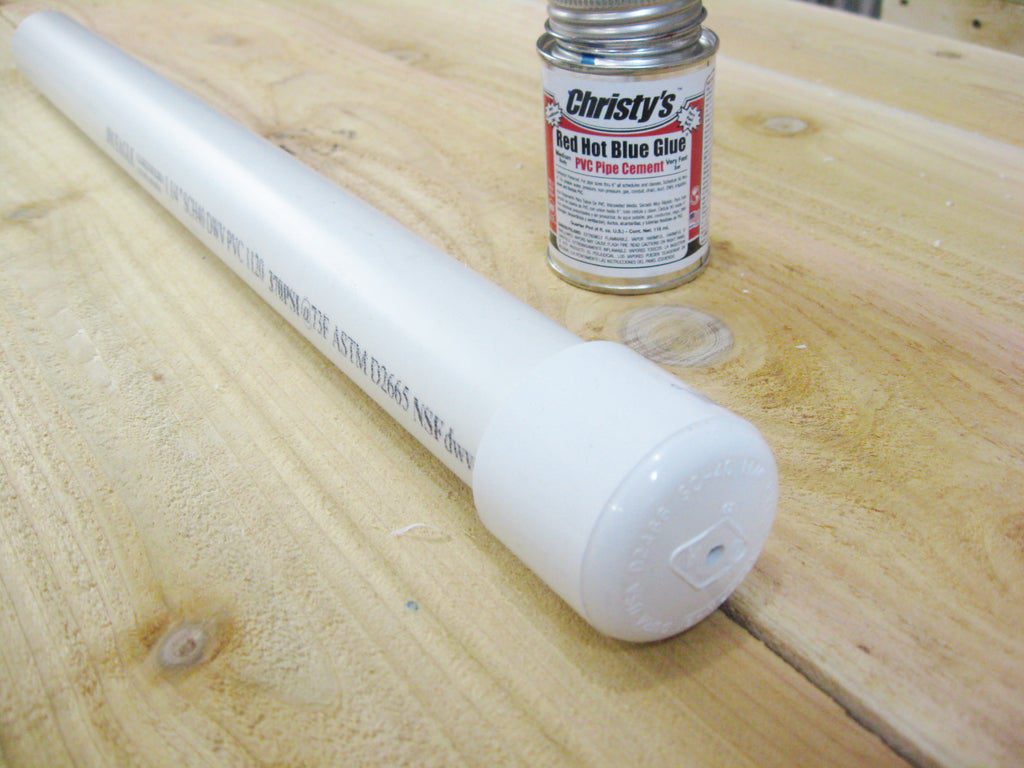
- Drill a 3/16″ hole into the centre of the 1 1/4″ cap, and use PVC cement to glue this to an end of the 1 1/4″ pipe. Follow the directions on the cement bottle.
- Tip: I sanded off the raised logo on the cap to give me a flat surface to start the drill bit when drilling the hole, and used a drill press to make sure the hole was as straight as possible.
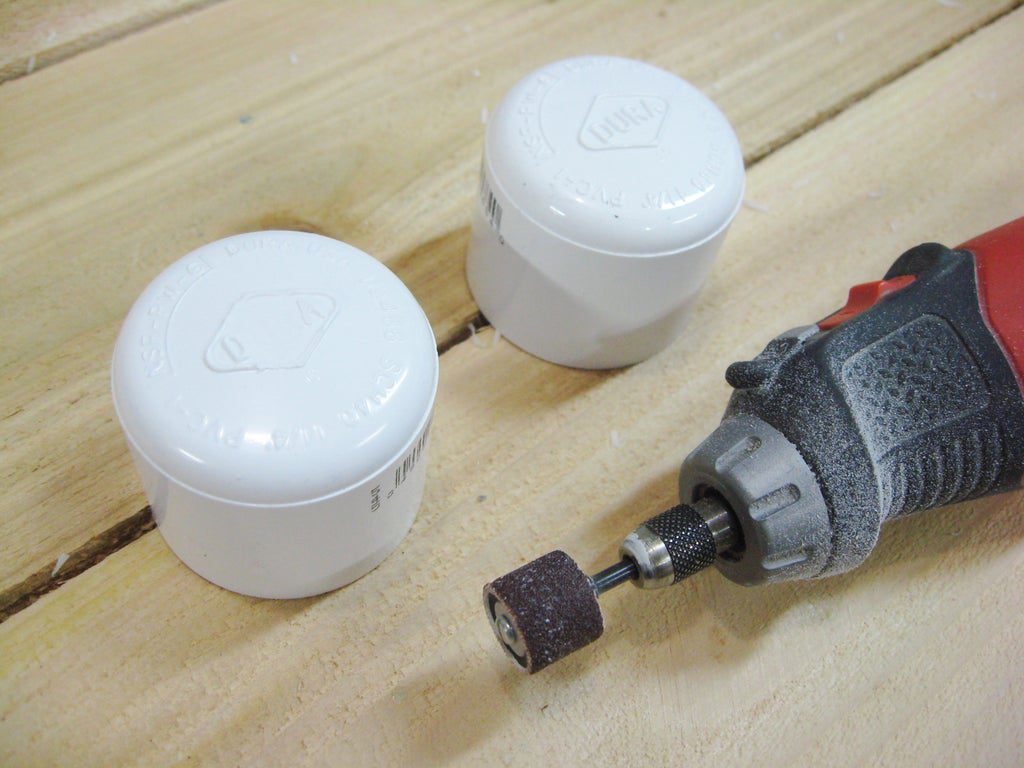
Step 5: Assemble Piston
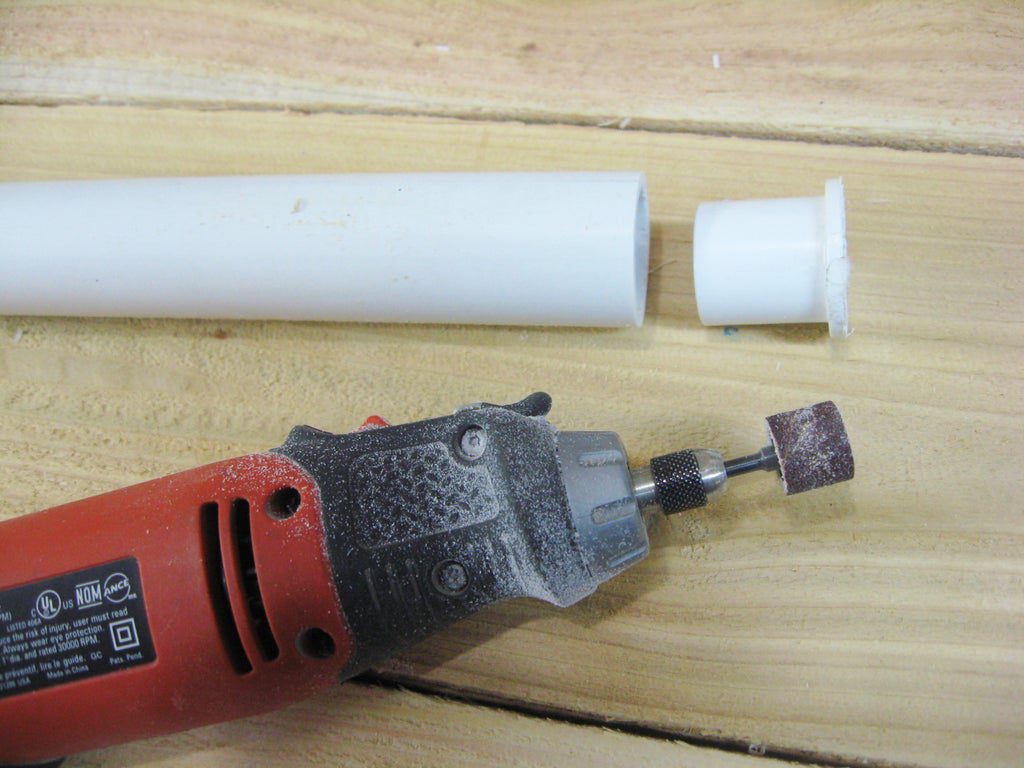
- The 3/4″ plug is not normally used with 1″ pipe, so it won’t fit as is.
- To make it fit, I used a sanding drum on my rotary tool to sand down an inch or so of the inside of the 1″ pipe, until the plug could be inserted and withdrawn without too much trouble.
- Place two O-rings onto the plug and mark their height with a pencil.
- Glue the plug into one end of the 1″ pipe with cement, just up to the line. You do not want the O-rings to be pinched tightly between the flared end of the plug and the pipe, so a little wiggle room is desirable (1/32″ extra or so is fine).
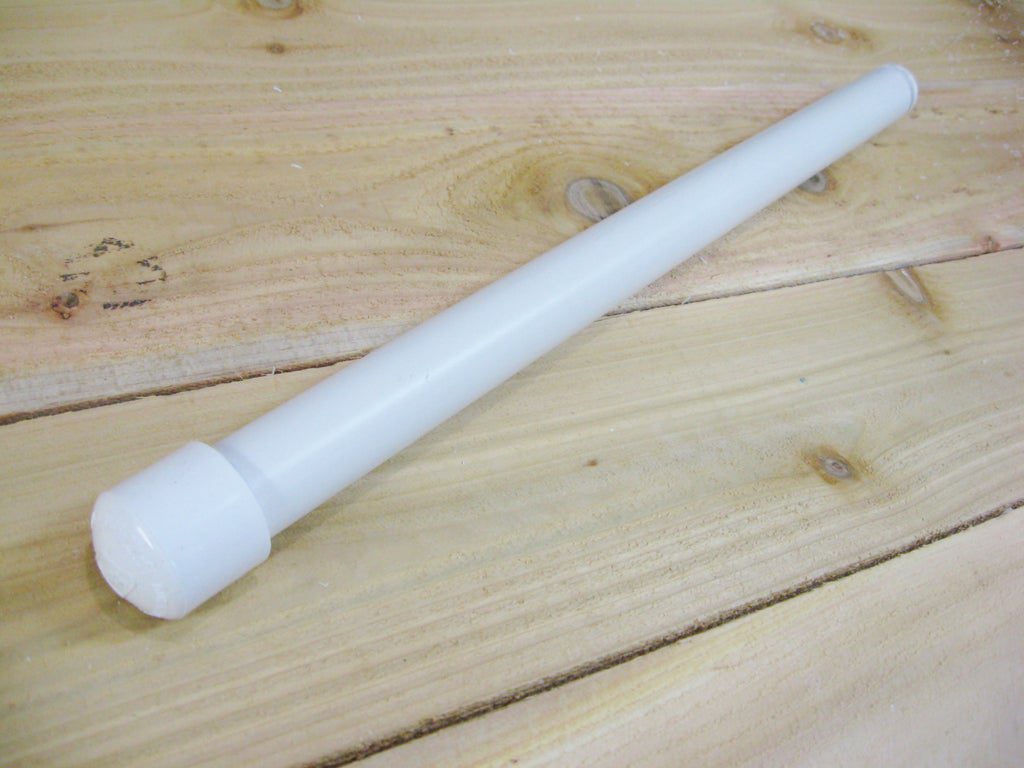
- Glue the 1″ cap onto the other end of the 1″ pipe, which becomes the handle. Other fittings could be use if desired, such as a T or elbow.
Step 6: Adjustable Pressure O-rings


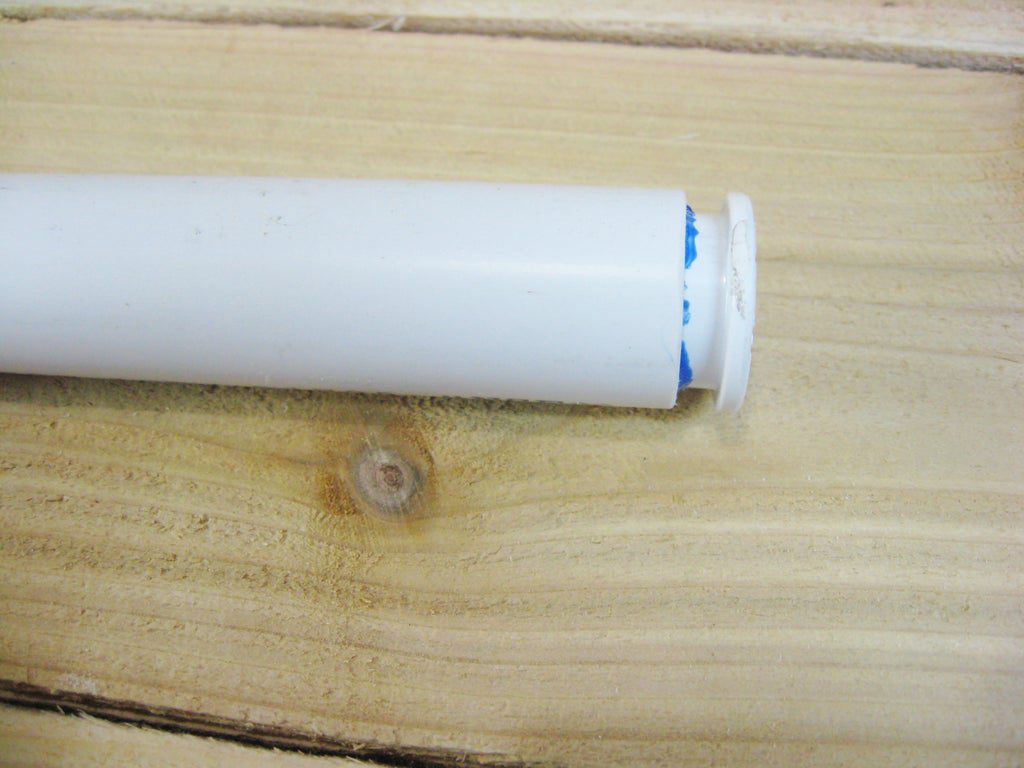
And now for the main trick!
- Wrap about 30 feet of dental floss tightly and evenly into the gap between the end of the plug and the end of the pipe on the piston. Leave a loose “tail” of a few inches.
- Place the O-rings over the dental floss, and check the fit of your nearly completed seal into the open end of the barrel. It should just barely fit with a little pressure. If it is too tight, simply pull a few inches of the dental floss at a time out from beneath the O-rings, and test until you get the right fit in the barrel. You don’t even need to remove the O-rings unless you need to add more floss. When the seal is working properly, trim off the loose floss and you’re done.
- There is a little bit of trial and error required here, but after the 2nd or 3rd water gun for me I had a pretty good feel for what amount of pressure the seal needed to have to function properly.
- I recommend doing this step outside next to a full bucket of water, in conjunction with the next step.
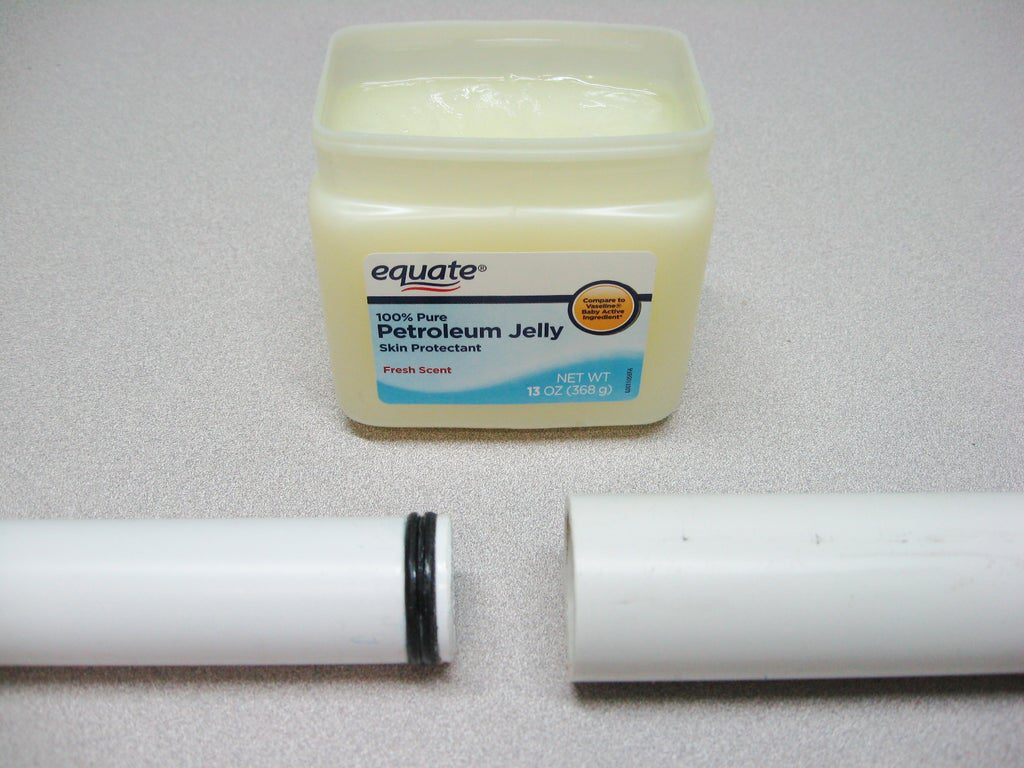
Step 7: A Little Bit of Lubricant
- Spread a little bit of petroleum jelly onto the O-rings, as well as to the inside edge of the barrel end.
- You only need a little; too much will actually be less effective.
Step 8: Have a Water Fight!
After a little testing and adjusting the O-ring seals, you should have a pile of awesome homemade water guns for you next big water fight!
Materials Needed Per Day:
Day 1: Dry Coconut, Condensed Milk, Food Coloring
Day 2: Water Balloons, Food Coloring
Day 3: 2 jars/ plastic bottles, Food Coloring
Day 4: Bubble Wrap, Abir Powder, Tape, Paper
Day 5: Abir Powder, Elastic bands, Shirt
Day 6: Candles, deeyas or lanterns.
Day 7: Abir Powder, Plastic Bottles, Bucket (ventures / rovers will prepare own water gun)